Wall Art and Photo Gifts from Fine Art Finder
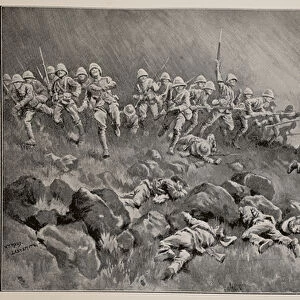
The Transvaal War (litho)
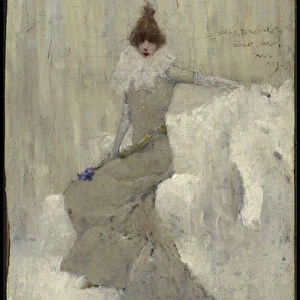
1592903 The Transvaal War (litho) by Holland Tringham, Joseph (1861-1908); Private Collection; (add.info.: The Transvaal War. Illustration for The Illustrated London News, 18 November 1899.
Media ID 22315968
© Look and Learn / Illustrated Papers Collection / Bridgeman Images
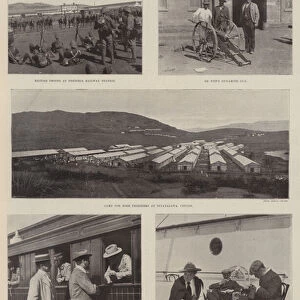
Estcourt
General View
Ladysmith
Second Boer War
Transvaal War
FEATURES IN THESE COLLECTIONS
> Africa
> Related Images
> Africa
> South Africa
> Related Images
> Europe
> United Kingdom
> England
> London
> Royalty
> Fine Art Finder
> Artists
> English Photographer
> Fine Art Finder
> Artists
> Joseph Holland Tringham
> Services
> Royal Navy
MADE IN THE USA
FREE PERSONALISATION *
SECURE PAYMENTS
* Options may vary by product and licensing agreement. Zoomed Pictures can be adjusted in the Cart.
redeem
Beautiful Photo Prints and Gifts
image
Professionally Printed
inventory
Photo Prints are in stock
thumb_up
Professional quality finish
diamond
Made with high-grade materials
inventory_2
Carefully packed to aid safe arrival
Related Images
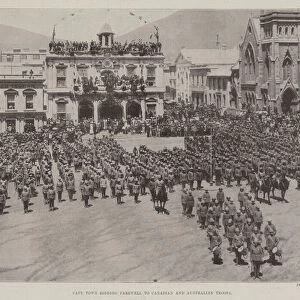
Cape Town bidding Farewell to Canadian and Australian Troops (b / w photo)
The Transvaal War, Troops for the Front (litho)
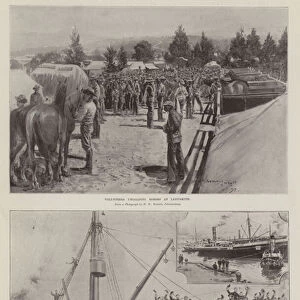
The Transvaal Crisis, Troops for the Cape (b / w photo)
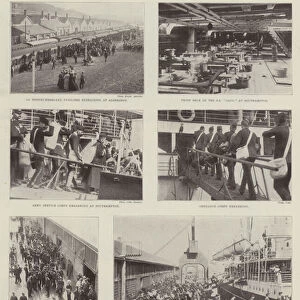
The Transvaal Crisis, Departure of Troops from Aldershot and Southampton (b / w photo)
The South African War, Campaigning, and after (b / w photo)
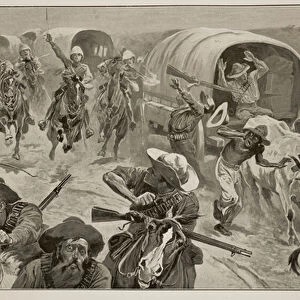
Capture of Boer Convoy by General Frenchs Troops near Kimberley (litho)
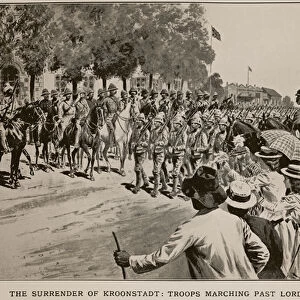
The surrender of Kroonstadt: Troops marching past Lord Roberts and staff
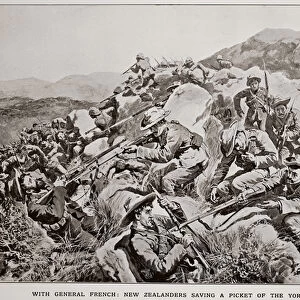
With General French: New Zealanders saving a picket of the Yorkshire Regiment near
The great assault on Ladysmith: The Devons Clearing Wagon Hill (litho)
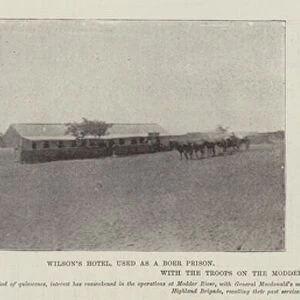
With the Troops on the Modder River (b / w photo)
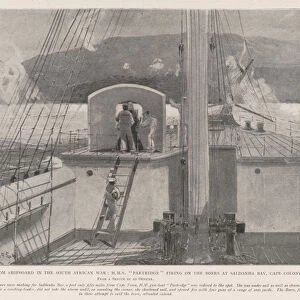
The First Shots from Shipboard in the South African War, HMS "Partridge"firing on the Boers at Saldanha Bay, Cape Colony (litho)
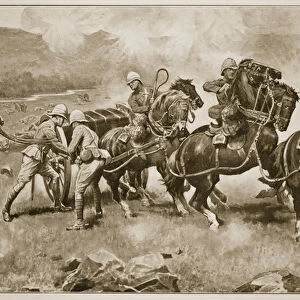
The Battle of Colenso - The last desperate attempt to save the guns of the 14th
arrow_back_ios arrow_forward_ios
Related Collections
Royal Navy
Browse 25,773 Prints
Africa Related Images
Browse 40,636 Prints
South Africa Related Images
Browse 17,721 Prints
Royalty
Browse 29,076 Prints
English Photographer
Browse 38,312 Prints
Joseph Holland Tringham
Browse 517 Prints
arrow_back_ios arrow_forward_ios

")